
1 TOUCHPOINT
1/4

1 Zippered Sweatband
2/4

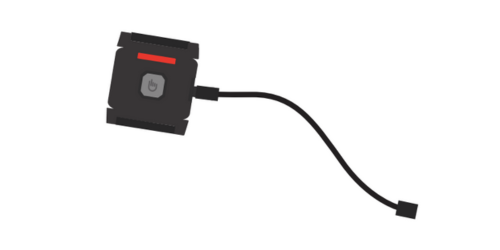
Charging Cable
3/4

Carrying bag
4/4
T


GETTING STARTED:
WHAT'S IN THE BOX
1 TOUCHPOINT
1/4
1 Zippered Sweatband
2/4
Charging Cable
3/4
Carrying bag
4/4
ASSEMBLY
1.
Charge TouchPoint until red lights turn off (approximately 2-3 hours)
1/3

2.
Power on and choose your
desired setting.
2/3

3.
Place TouchPoint into
zipper sweatband and your
TouchPoint is ready to use!
3/3
CHARGING YOUR TOUCHPOINT
Plug the included charging cable into a USB adapter or computer (computer must be powered on). A red light displaying means the TouchPoint is charging. Leave plugged into until the red light turns off.
Under unusual conditions of high electrostatic discharge, your TouchPoints may power off due to a built-in safety feature. In the event this occurs, please visit our online FAQ for hard reset.
For more info on charging, see our Safety & Care page
using your touchpoint
MODES & USES:

BLUE
The blue light is the first and slowest speed on your TouchPoint.
1/5

YELLOW
The yellow light is the second and medium speed on your TouchPoint.
2/5
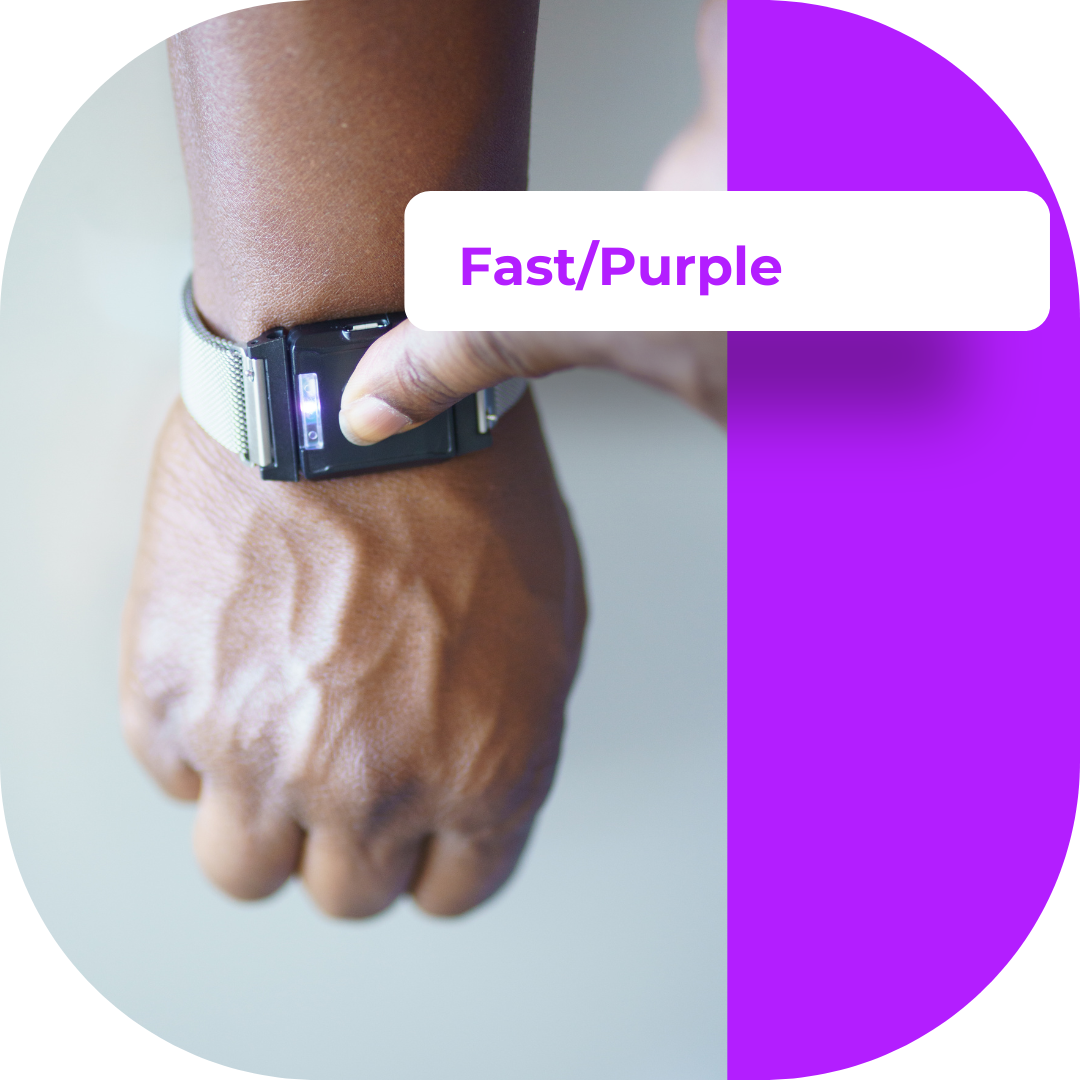
PURPLE
The purple light is the third and fastest speed on your TouchPoint.
3/5

GREEN
A green standby light displays briefly display right before the TouchPoint powers off.
4/5

RED
The red light will display when charging, and disappear when the TouchPoint is fully charged.
If the TouchPoint shows a red light while off the charger, it needs to be charged.
5/5

BLUE
The blue light is the first and slowest speed on your TouchPoints.
The slow/blue setting is recommended to improve sleep, or meditate.
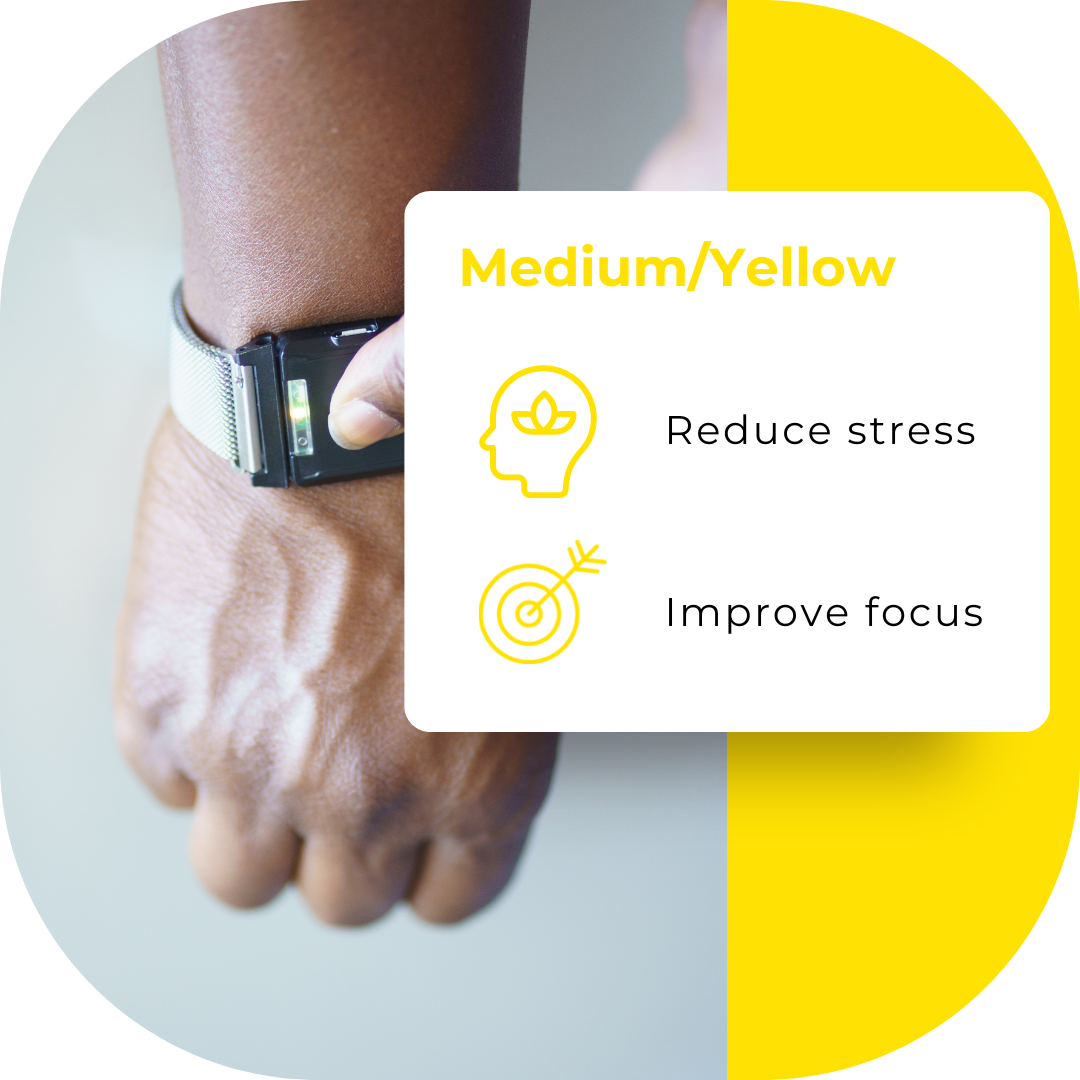
YELLOW
The yellow light is the second and medium speed on your TouchPoints.
The medium/yellow setting is recommended to reduce stress and improve focus.
1/3

PURPLE
The purple light is the third and fastest speed on your TouchPoints.
The fast/purple speed is recommended to manage anger and reduce agitation.
GREEN
A green standby light displays when the follower device is searching for the lead TouchPoint to pair with. Once it finds the lead, the light will change to the lead's setting (blue, yellow, or purple).
The green light will also briefly display right before each TouchPoint powers off.
2/3
RED
The red light will display when TouchPoints are charging, and disappear when TouchPoints are fully charged.
If the TouchPoint shows a red light while off the charger, it needs to be charged.
3/3
LEAD
DEVICE (L)
First device powered on
Used to select setting
FOLLOWER
DEVICE (F)
Second device powered on
Mimics setting from the lead
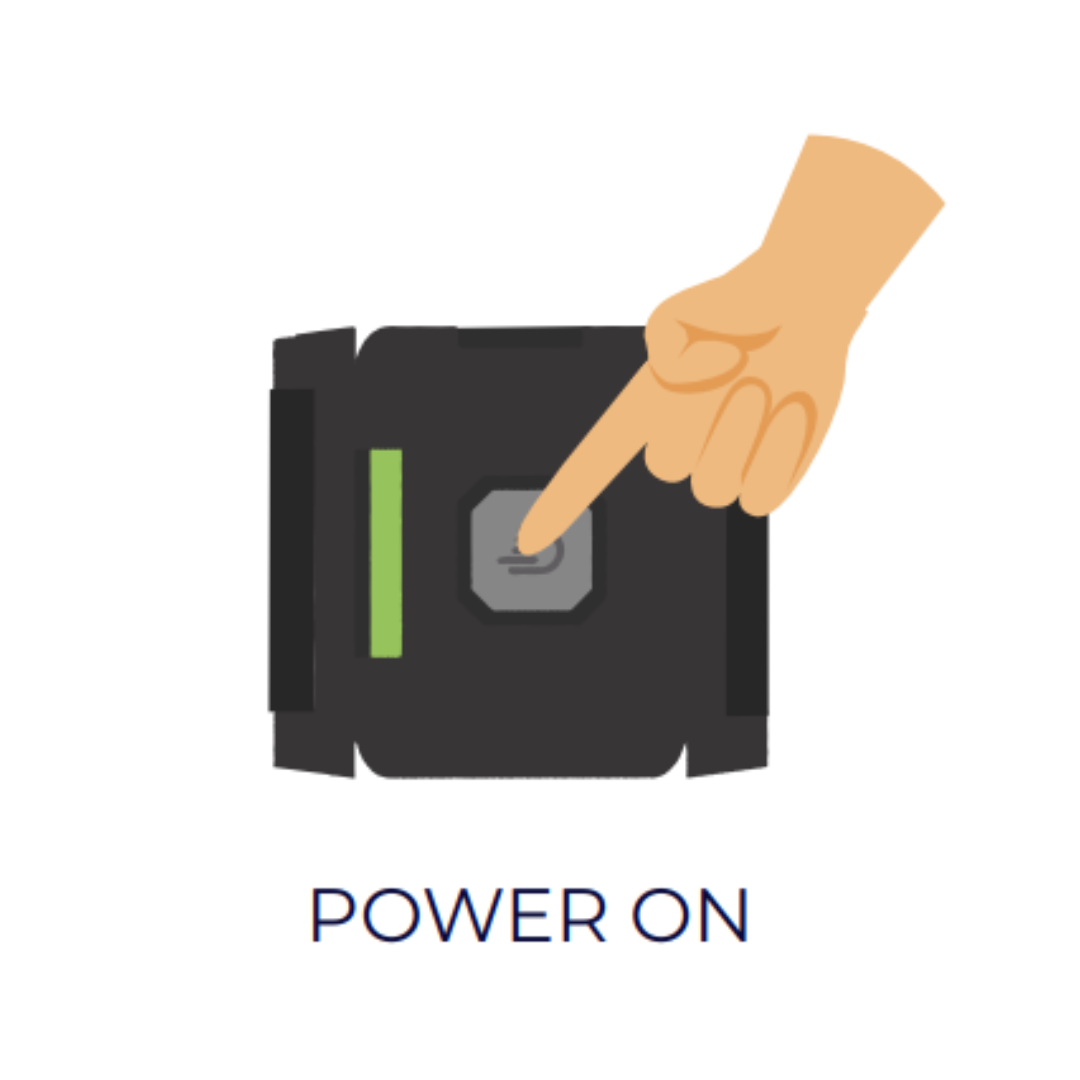
STEP-BY-STEP GUIDE:
1. Press the button on the TouchPoint device to power on. The green light signifies that the device is powering on or off
2. Press the button on the TouchPoint device once more to activate the blue (slow) setting. The device will begin to vibrate.

3. If desired, change settings by pressing the button on the TouchPoint device again.

4. Place one TouchPoint on either wrist and feel the calming vibrations.

5. To turn off, hold the TouchPoints away from each other and press the button on each until you see the green light.

WHERE TO WEAR:
Your Brain Balance Virtual Coach will guide you through the appropriate setting and placement of your TouchPoint throughout your individualized program.
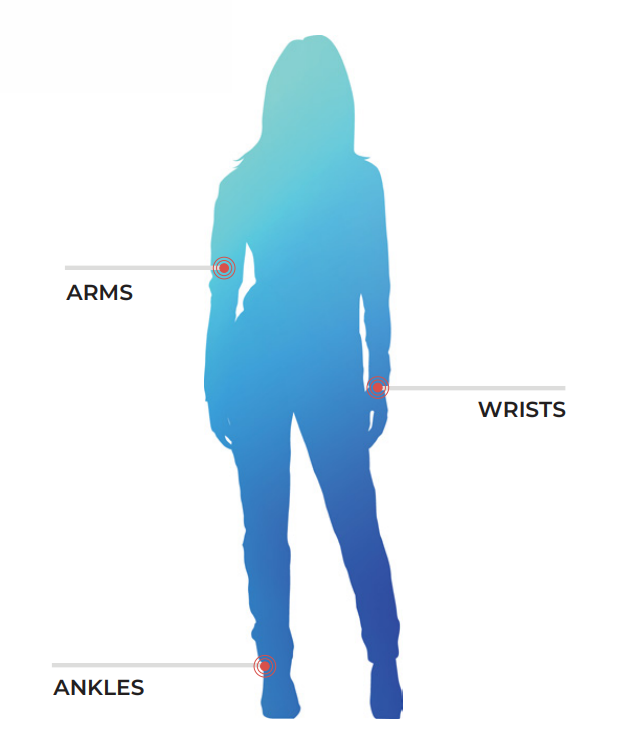
Visit the Brain Balance Parent Portal for more information on how to use your Touchpoints.